

Vinyl flooring is a synthetic material that has gained immense popularity recently. It is made from polyvinyl chloride and offers a wide range of design options, making vinyl kitchen flooring a versatile choice for homeowners.
Types of Vinyl Flooring
There are two primary types of vinyl kitchen flooring: sheet vinyl and luxury vinyl tile (LVT). Sheet vinyl comes in large rolls and is ideal for covering large kitchen spaces seamlessly. On the other hand, LVT mimics the look of natural materials like wood and stone and comes in individual tiles or planks.
Benefits of Vinyl Flooring for Your Kitchen
1. Durability
Vinyl flooring is known for its durability. It can withstand heavy foot traffic, spills, and the demands of a busy kitchen. This durability ensures that your kitchen floor remains in pristine condition for years.
2. Easy Maintenance
One of the key advantages of vinyl flooring is its low maintenance requirements. Regular sweeping and occasional mopping are all that’s needed to keep it looking brand new.
3. Versatility in Design
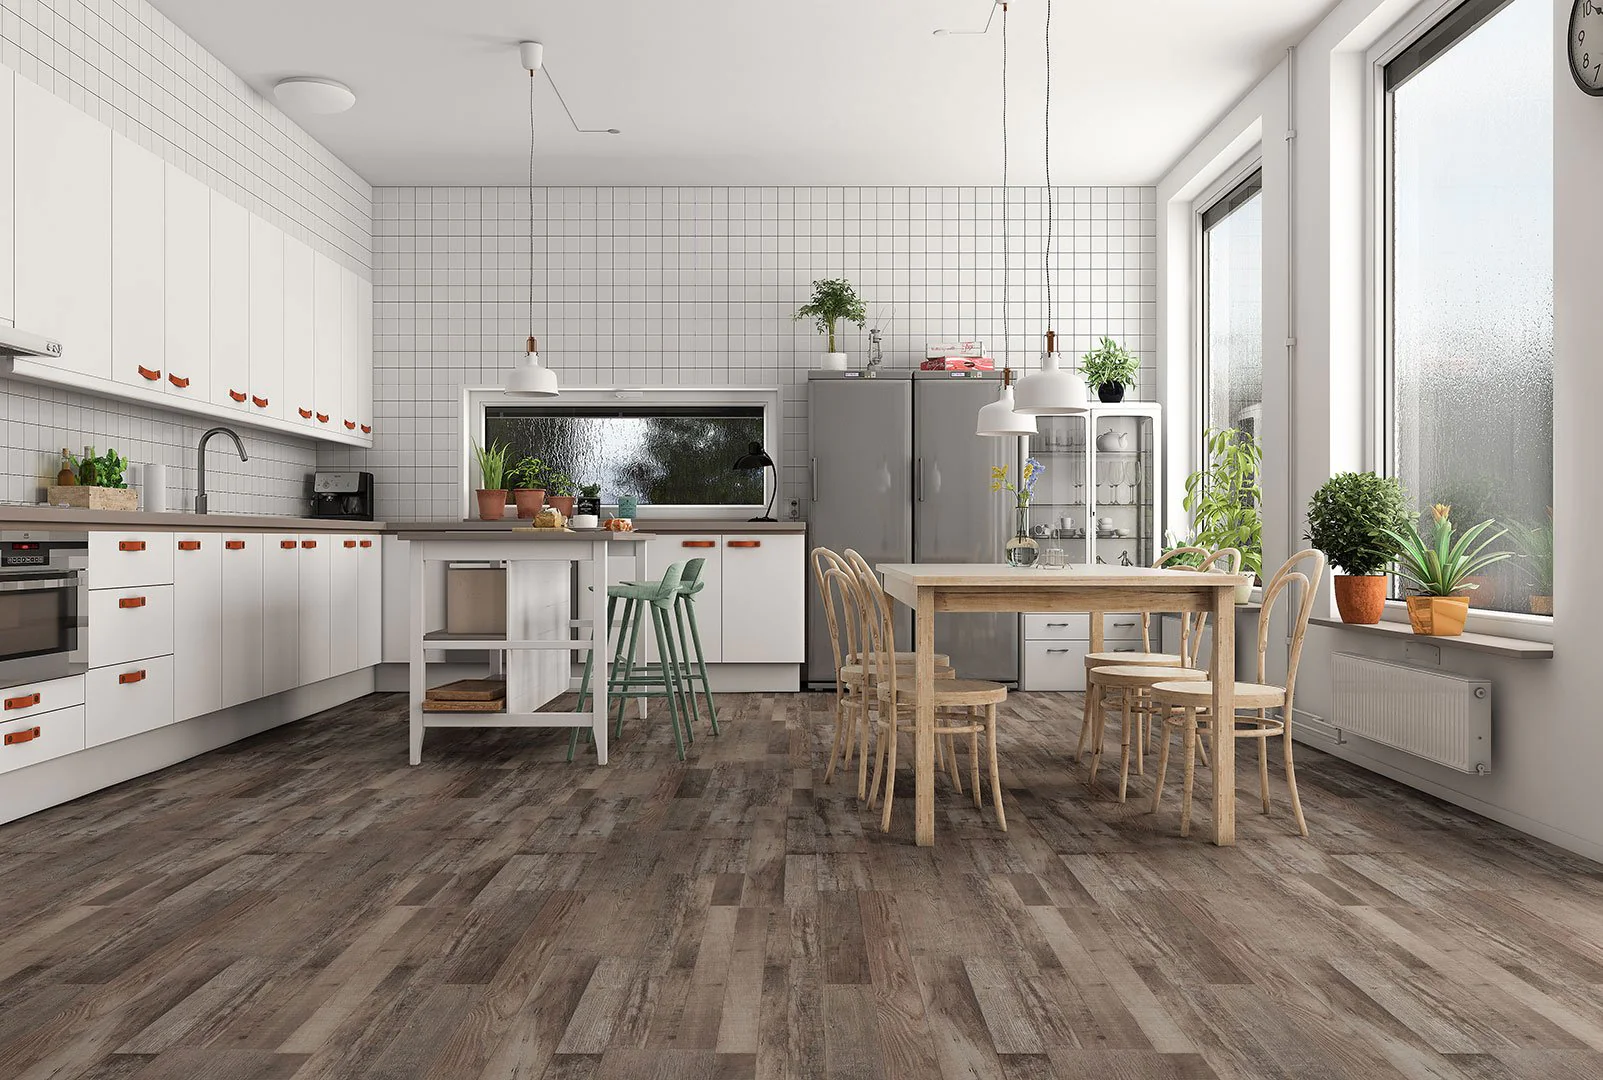
Vinyl flooring offers an extensive array of design options. You can choose from various colors, patterns, and textures to perfectly match your kitchen’s aesthetic.
4. Cost-Effective
Vinyl flooring is much more budget-friendly than hardwood or ceramic tile options. You can achieve a high-end look without breaking the bank.
Steps to Transform Your Kitchen with Vinyl Flooring
1. Assess Your Kitchen
Before you start, assess your kitchen’s layout and measure the area you want to cover with vinyl flooring. This step will help you determine how much material you need.
2. Choose the Right Type
Decide whether you want sheet vinyl or LVT based on your kitchen’s requirements and design preferences.
3. Select a Design
Browse through the vast selection of vinyl flooring designs available. Consider your kitchen’s existing color scheme and style to make the perfect choice.
4. Prepare the Subfloor
Ensure the subfloor is clean, dry, and level before installing vinyl flooring. Any imperfections can affect the final result.
5. Installation
Follow the manufacturer’s instructions carefully when installing vinyl flooring. You can choose between adhesive-backed vinyl or click-and-lock options for ease of installation.
6. Finishing Touches
Once the flooring is installed, add baseboards or trim to complete the look. This helps to cover any gaps and provides a polished appearance.
Conclusion
Transforming your kitchen with vinyl flooring is a smart choice that combines style, durability, and affordability. Following the steps outlined in this article, you can revamp your kitchen’s appearance and create a welcoming space for cooking and gathering with family and friends.